Series index
A clean start is the beginning of a great programming session.
There have been times that I was working on some new code and found an unexpected problem either with the automated tests or by manually running the code and seeing a flaw that wasn’t covered by a test.
I have spent hours trying to understand how my code caused such a failure, only to learn the fault wasn’t mine. It was usually that someone else had pushed a bad commit to the shared branch, and I pulled without noticing it.
Though it pains me to admit it, I’ve also been the one who pushed code that couldn’t work in CI or on my coworkers’ machines. It was usually that I had something on my machine that wasn’t on everyone else’s machine; a library, module, data file, or compiled library that was not a part of the configuration.
I’ve had the same experience when pairing or mobbing when my coworker did not start clean.
Controlling the dependencies and quality of the code is crucial for CI and CD and is a good all-around discipline.
It is surprising how many people have no “clean start” discipline despite having been through degree programs and years of work experience. I certainly didn’t for decades of my early career (no shame in it, just acknowledgment).
The Modern Agile wheel includes an element in the bottom, shown in blue, that states “Make Safety the Prerequisite.”
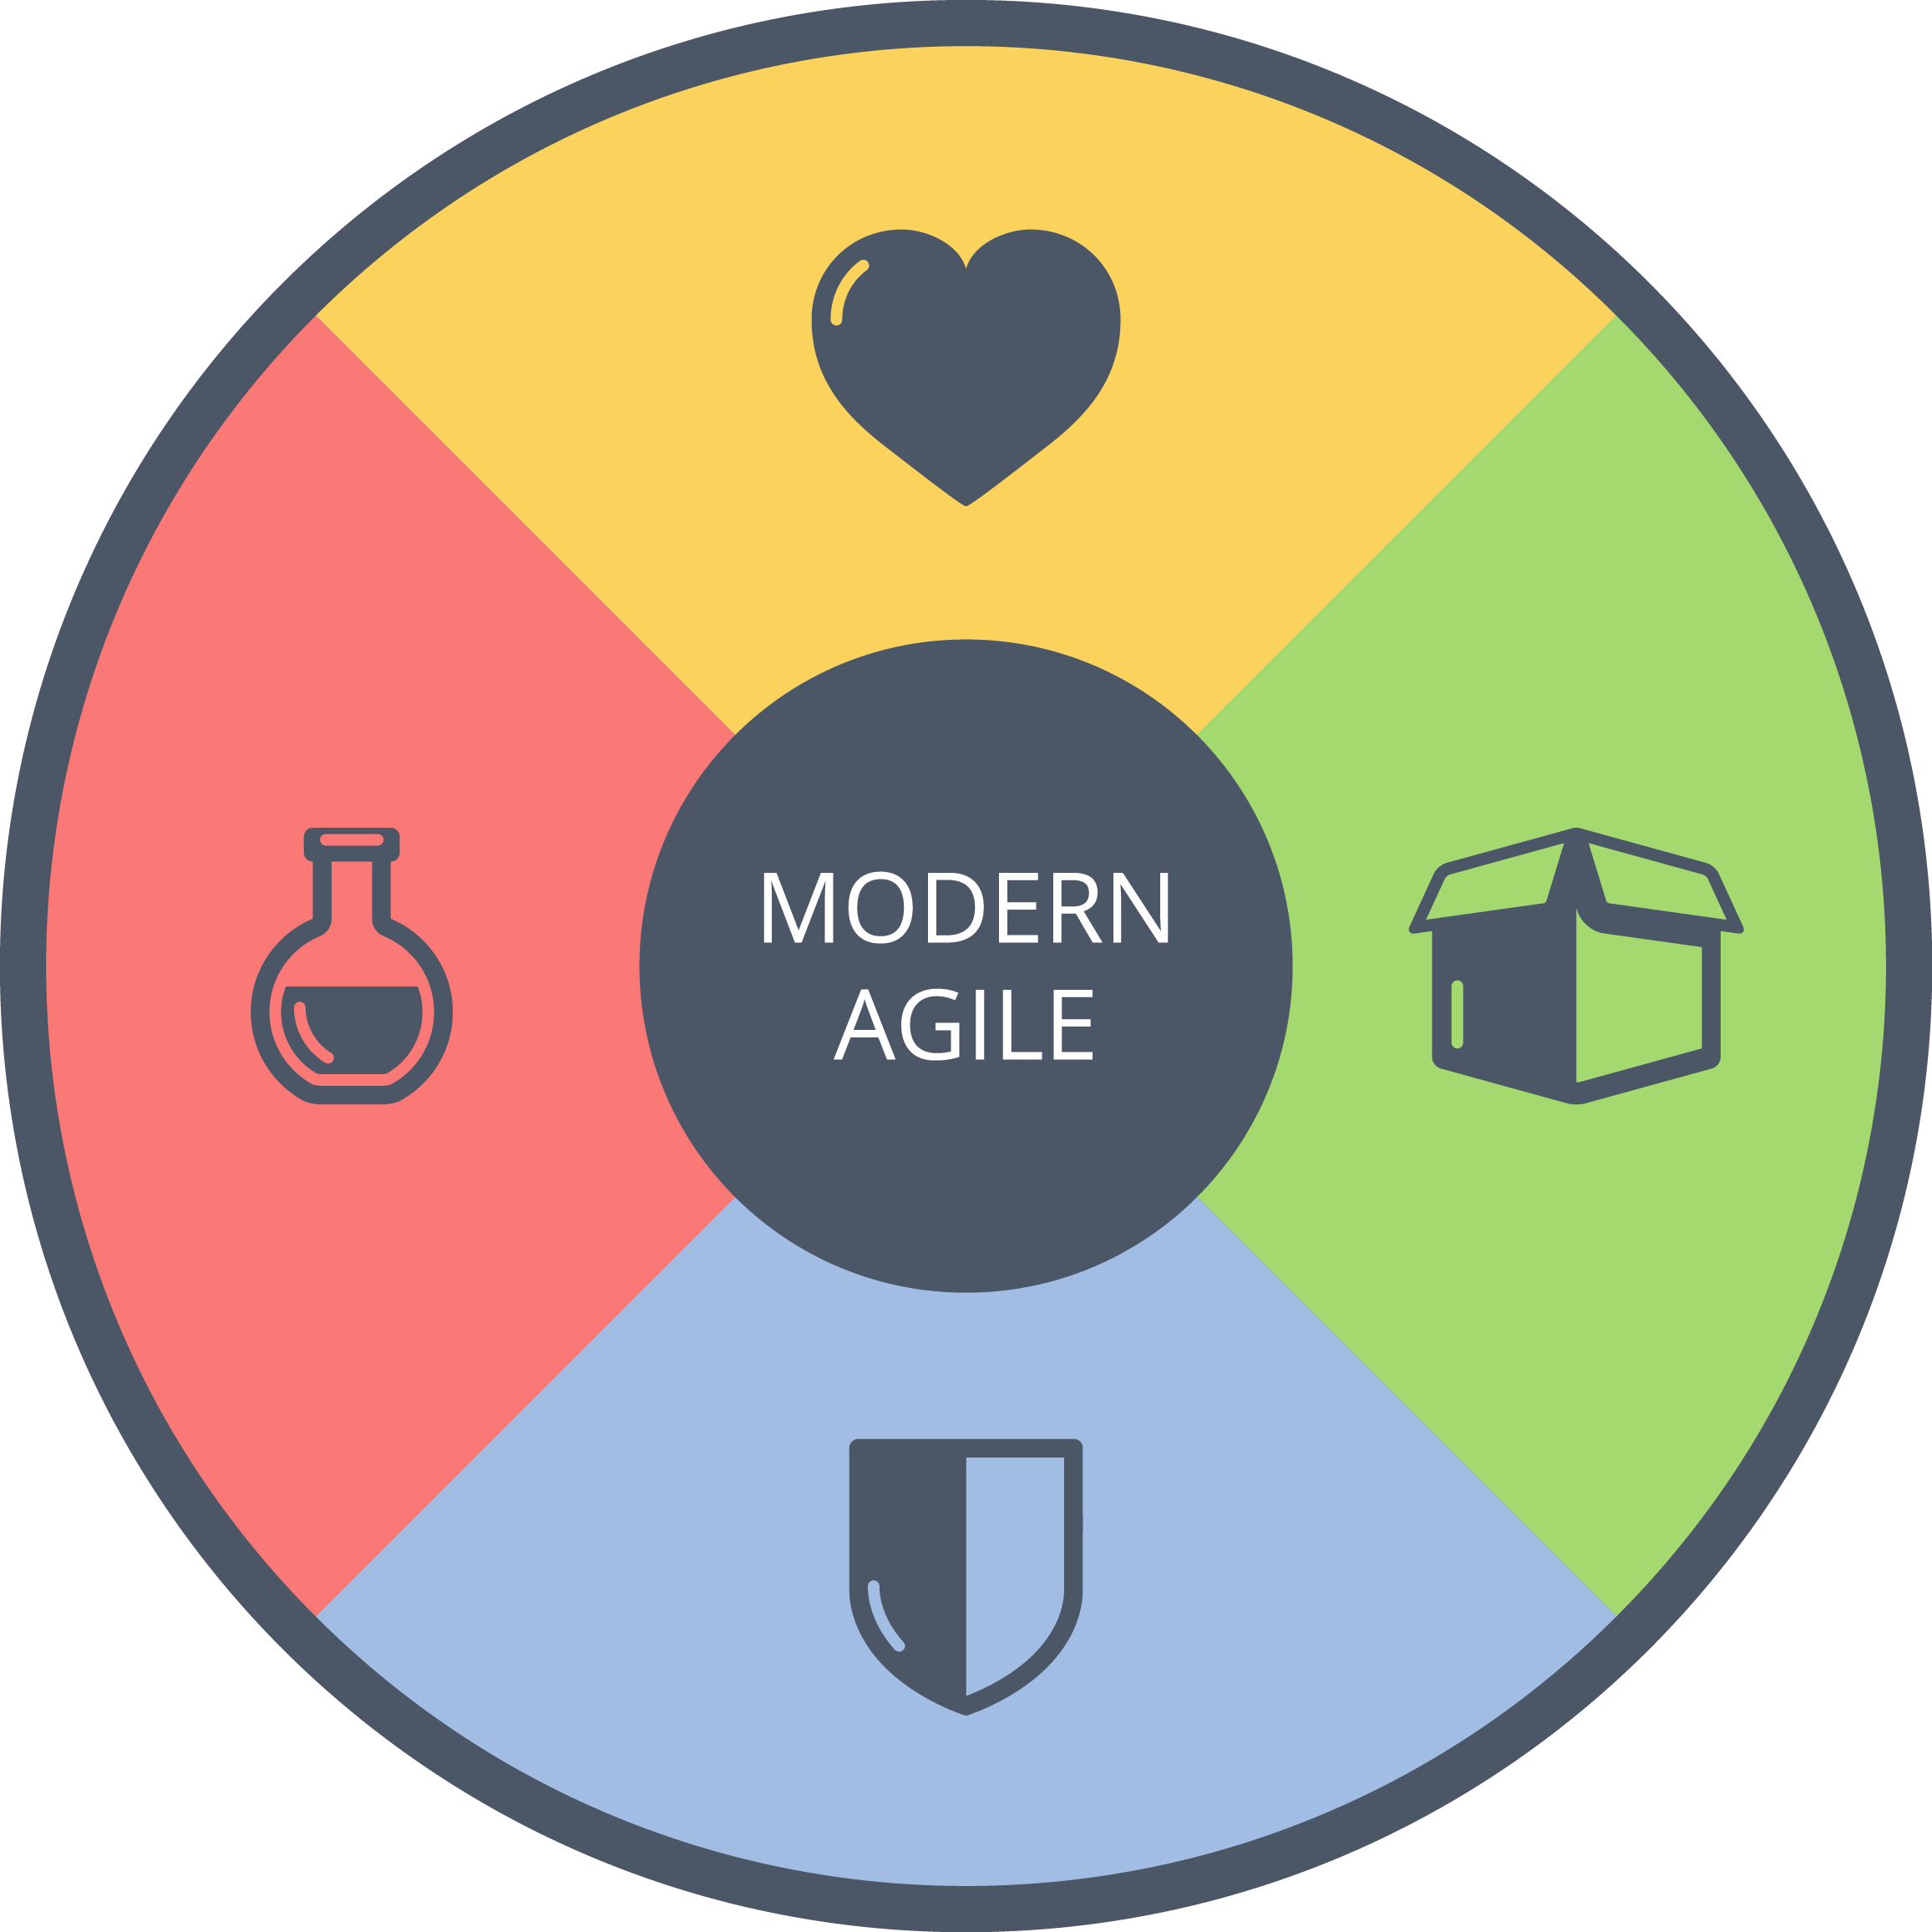
This means that we should begin in such a way that we will not be unnecessarily at risk of loss or unnecessary struggle.
One part of the safety prerequisite is to have tests, particularly fast-running automated checks.
We need a way of quickly validating that our system is working. If we have to manually test all the features of complex systems, we might have no time left over for programming!
If you don’t have fast automated tests, it’s a good time to start building some, but keep reading so you understand what advantages they will give you at the start of each new unit of work.
We will take automated checks as a given.
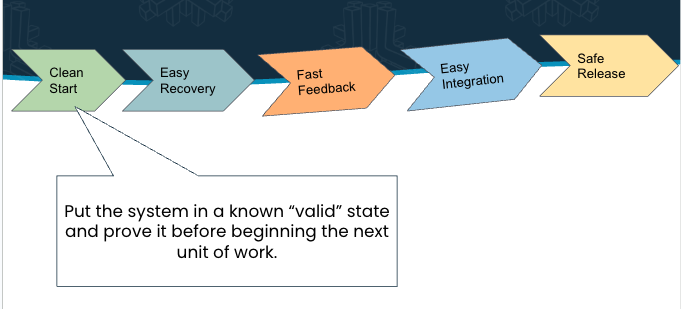
What is a Clean Start?
I begin new work ensuring the workspace is free from pollution, leftovers, failing tests, and half-finished work.
We will put our workspace into a “clean” state before beginning each job, even if the job is working in the same code base and the same branch (we only use ‘main’).
We don’t switch jobs without ensuring a clean start.
Step 1: Git Status
Make sure that you have no untracked files in your workspace. None.
If you have any, use the appropriate step:
- If they are created programmatically, have them deleted programmaticaly.
- Add their directory to .gitignore if (and only if) the file is harmless and generated by tools during linting, editing, or checking.
- Remove them by hand (scratch dev files, temp data files, etc).
When you are done, you should be greeted with this happy message:

You want to make sure you have no uncommitted changes to any of the files in your codebase. You can commit them or revert them, but you cannot have any uncommitted changes.
You need to be free of the work you’ve been doing before you start a new job.
Achieve this first.
Step 2: git pull –r
Pull the current working version to your machine.
Since you’re entirely clean locally, there is no reason to rebase, but I find -r to be a good habit, and I don’t want
to have to decide whether to do it or not.
You want the most current and most integrated version available to you. You shouldn’t have to decide when to do this; it should be automatic.
You might be surprised how many people forget this, and base their new work on some old version of the main branch. Don’t make that mistake!
Why the -r? Well, I use pull -r whenever I pull and find it a useful practice, so I want the habit to be to use the
rebase flag all the time. I trust habits more than decisions in this case. It’s harmless enough in this case, and I can
always just recall the last pull command rather than retype it.
So now you have nothing unique in your space, and you are current with the main branch as far as the file content is concerned. You’re still not ready to start work.
Step 3: Update the Local Environment
This step depends on your application stack.
If you are in Python, then you will use your local build/dep tool to update. This is often pip, poetry, or pants.
If you’re in Javascript or typescript it might be npm.
In Java, it is likely Gradle, Maven, Ivy, or Ant.
Whatever the tooling, make the environment current. It is too easy to overlook this step and end up with tests failing or even failing to run.
Now you have a fresh environment, and there are only a few steps left.
Step 4: (Clean) Build
Compiled languages often require a build. A clean build deletes any artifacts left over from prior builds, and that’s the preferable situation.
Since you’ve done nothing yet, are current, and have a clean environment, there is no good reason to have trouble building the current application.
If the build fails, there is a problem with your local environment to solve before you touch a line of code.
Clear up any problems that emerge at this point, while you know it’s not your fault.
Step 5: Run The Tests
Run your test suite(s). There should be no failing tests at all.
Are the tests running in the CI pipeline? You should double-check that. Maybe you need to correct your machine’s global environment!
If tests are failing on your machine and the CI environment, you can be sure you’ve inherited that problem from the main branch. It’s not your fault, and you may not have to be the one to solve it.
If you investigate the failure and solve it yourself (after informing the person who pushed the change), you do so knowing that you don’t have ANY local changes that might have contributed to the failure.
I like this “clean room” approach.
DEVELOP!
Now if anything fails to build or test successfully, it’s because of the code you have just written, and you can solve that at your workstation. You won’t spend hours or days chasing other people’s problems.
As you develop, you will probably want to run the tests frequently (maybe automatically, in the background?) so you find out about problems while the “search space” for the failure is quite small.
You will likely want to do microcommits as you work, or at least right before starting anything tricky or interesting. We will discuss this more in forthcoming articles.
Don’t leave it up to your microtests, though.
Consider having all the human augmentation available and affordable in your editor. I like using SonarLint (because it’s free), and any other checkers I can find. I’m trying some AI tools, though the results so far are mixed.
In Python, I use type hints and protocols to help my IDE and various code-checkers spot problems as I’m editing the code. It saves me time to keep warnings out of my code.
I use automatic reformatting rather than making a mess for now, only to tidy it up with an automated reformatter later..
BTW: any time you have committed, you can also do the above 5 clean start steps again to maintain currency with the development version and avoid a big merge conflict later.
Committing
Since you have no changes except those related to the one thing you are doing, you don’t have to spend time composing a commit out of selected passages from selected files.
You will still have to check (git status again) to be sure you’ve added all the files to version control, or at least
do a global add (git add . at the root) to get all the files included. Just be sure you don’t commit temporary files
that need to be deleted or moved instead.
You may be interested in the discipline of Intentional Commits. I strongly recommend an intentional approach to work, so you are doing one thing at a time.
When you are focused on doing one thing at a time, you won’t get confused or befuddled, nor will you lose your thread if you are interrupted (as often happens when one is in a side-quest of a side-quest of a side-quest).
You might find it helpful to add precommit hooks to do a new build and run tests again.
I’ve gone so far as to write zsh functions so that I can compose my commit message before doing the work and then commit (with ‘-a’) afterward, using the message I’ve composed.
If that sounds like a lot of discipline to you, I will comfort you with the knowledge that I never have to carefully compose all my commits. It’s always all-or-nothing, always easy, and I am not burdened with excess decision-making. I have found it easier and less stressful this way.
Make Clean Start Easy
There are 5 steps in the “clean start” protocol described above. That sounds like a lot, and even I don’t always remember to work through the whole list.
I find it’s easier to automate such a simple process than to memorize it.
I like to create a script (I usually call it prepare, though maybe I should call it cleanstart?) that will do a
git status, a pull, update the environment,
build, and run tests.
It’s trivial for me to type ./prepare before beginning any
new work, and trivial to remember to so do.
It is easy to write a bash/zsh script that exits if any of the steps fail. I can’t imagine any reason not to do so. I
usually have a ./prepare script and a ./run script in the root directory of a project just to keep it simple and
easy.
Here is one actual example from a python program I work on regularly:
    #! /bin/bash -e
    source venv/bin/activate
    git pull -r
    pip install --upgrade pip
    pip install -q -r requirements.txt
    pytest
    echo "Completed successfully."
The -e tells bash to exit on the first failed command, so the rest of the script isn’t performed after a failure.
If I run it from the wrong directory, the source command fails, and if I’m in the correct directory then it’s
harmless.
If I have uncommitted changes, it fails with this message:
    error: cannot pull with rebase: You have unstaged changes.
    error: Please commit or stash them.
I upgrade pip before using it to install new requirements. A lot of my newer projects use poetry, and I’m looking at perhaps moving forward from there soon, but this project has been using pip all along and I’ve not felt the urge to modernize it yet.
Pytest runs all the tests, and stops the script execution if any active (un-skipped) tests does not pass.
The script takes on the order of 5 seconds when pip is up to date, there is nothing new on the main codeline, and there are no new requirements. That’s a very small amount of overhead to ensure that I’m truly ready to start my work.
If you begin with the Clean Start Protocol, I’m sure you will find your work becomes more tidy and effective. It also provides a base situation for the next 4 steps of this process.
What did I leave out? Maybe you can add steps I’ve forgotten to mention?


